Anatomy of a Painting: Luminous Lands III
This post illustrates:
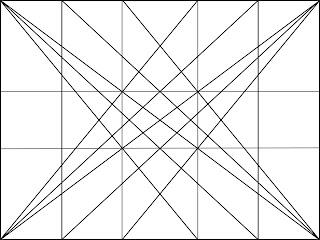
- the use of an expanded dynamic symmetry armature,
- cropping of a photo to help compose a painting that would follow the armature,
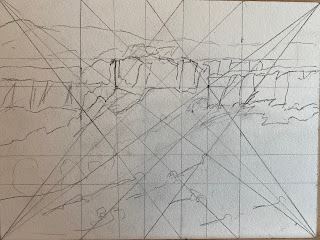
- drawing of the armature on the panel
- sketch on top of the armature
- adjustments made throughout the painting process. In the case of this painting, I originally tried to do it on oil paper, but decided it didn't work for me.
- the resulting intermediate painting became the source for the final painting on linen on panel.
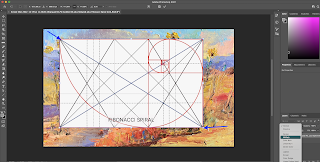
- painted a version with a golden proportion (or near) of 8x13. For that painting I used a golden spiral armature, though this is not illustrated here (yet).
Photo of the cliffs in Los Alamos New Mexico:
I cropped the photo so that the darker cliff against the lighter one would be set as my focus. I then used Wise Photo App to make sure it aligned as I expected:
I used an expanded dynamic symmetry armature, with self-similar rectangles and rebatement to create many diagonals.
First on Oil Paper:
The texture of the oil paper wasn't working for me. So I started over on my standard linen on panel (acrylic primed since I am using water-mixable oils).
I scraped off some of the bright pink cliff in the background and added some yellow and darks to give it texture. and otherwise added lights and details in the foreground trees and hill.
I decided that the right-hand cliffs weren't to scale and made them larger here:
The 8x13 version under the framed painting is a version of the scene with the 'golden' aspect ratio. The bottom painting on the right is the painting on Arches Oil Paper that I ended up eliminating from finishing. I might still try to finish it now that it's dry. Two photographs of intermediate stages for Luminous Lands III are under the panel with the pencilled armature (also above as standalone photos).


