Constructing a Transparency Viewfinder
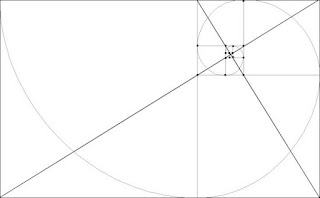
Introduction: Michel Jacobs, author of a well-regarded work on Dynamic Symmetry, recommends the use of a transparent grid rather than painstakingly drawing the grid on each panel:@1920. Here's a public domain pdf of his dynamic symmetry book: HERE. One point of disagreement with others is that Jacobs emphasizes a principal point of interest (as do I) but others say this is not necessary; the composition as a whole must be used. And it can have many different points of interest. The important point is how they relate to each other and in fact lead to each other.
I have a Kindle copy as well as a paperback. Very little math.
The main point here is that others have recommended the use of a transparency.
These are the 5x7 images I created using photoshop using the 'canvas' sizing to create the 5x7 final result. Right click on an image to download. Unfortunately the downloaded images are smaller. Resize them in Preview to 5 x 7 or in any other jpg viewer you use.
You can print these directly on transparency film (see below) or insert these into a word document and print two at a time.
The resulting transparencies could be glued to mats (see below) or used as is. I've seen these transparencies 'attached' to phones with cameras with a double-sided tape for use in the field without the mat.
From scratch:
Materials:
- 5x7 Mats with (preferably) a 4x6 opening. Available at Michaels. There are nice double mats (2.99) but the single mats seem to be okay (1.99). Single mats are available on Amazon - in large quantities at lower prices- many to choose from. They seem a little flimsier but if they are weighted down after gluing they should be okay.
- Elmer's glue sticks
- Transparency Film: 8 1/2 x 11 for standard water based ink, suitable for inkjet printers. The brands I know seem not to be available right now. Write to me for more information: karen.halbet@gmail.com
App: Photoshop. (may skip if use the images provided; many more images are available. Write to karen.halbert@gmail.com for more information. I used photoshop to create a nice gray frame (5x7 canvas) around the approximately 3x4 armature image. Alternatively one could simply center the 3x4 image on a paper and print it on the transparency.
Directions:
- Print the desired 5x7 matted image on transparency film, cutting it out appropriately.
- Apply the glue stick to the mat edge and 'glue' the 5x7 transparency to it.
- Then you may view/superimpose the 'framed' image over your phone camera and align the view with the grid.
Photographs of finished 4:3 transparency:
Front: